A home with a pool is becoming a common luxury in residential neighbourhoods, making it a key feature to take the property’s value up to greater heights. It offers an unparalleled entertainment experience that gives families and friends the option to recreate tropical paradise without going out of town, especially when it comes to beating the heat during summer.
Pools are undoubtedly a grand accessory, but while it enhances the quality of living, it can also pose a safety hazard for residents with children and pets roaming the backyard. That’s why adding a pool fence is highly-coveted as it’s an upgrade that elevates the area’s safety and style.
Why Glass Pool Fencing?
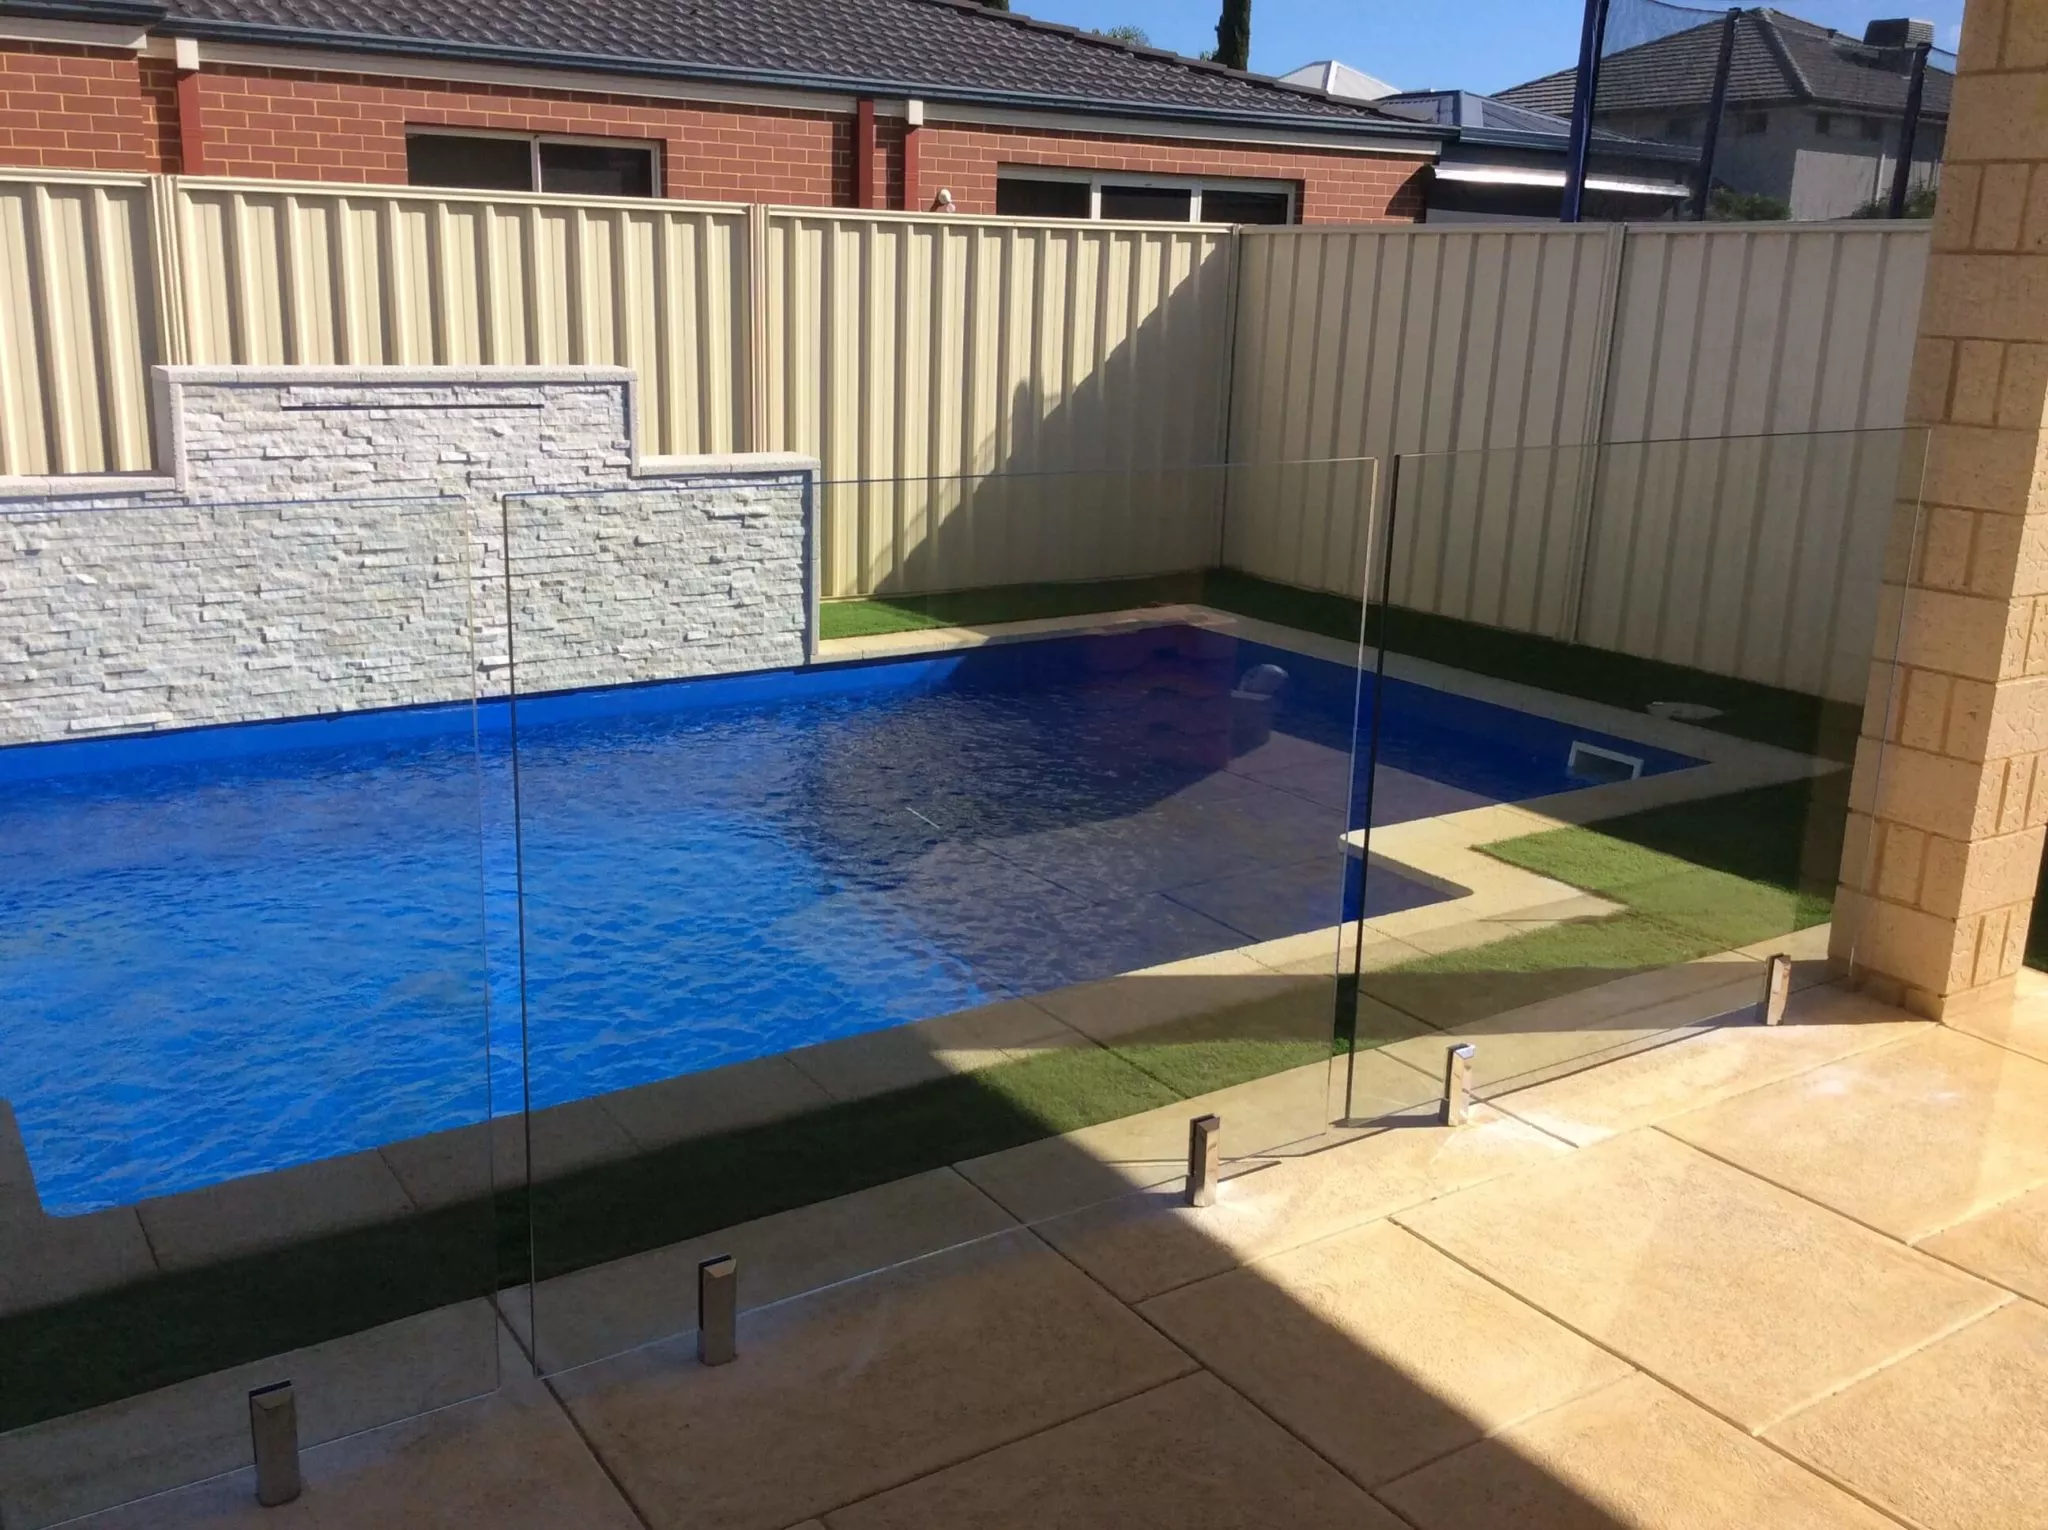
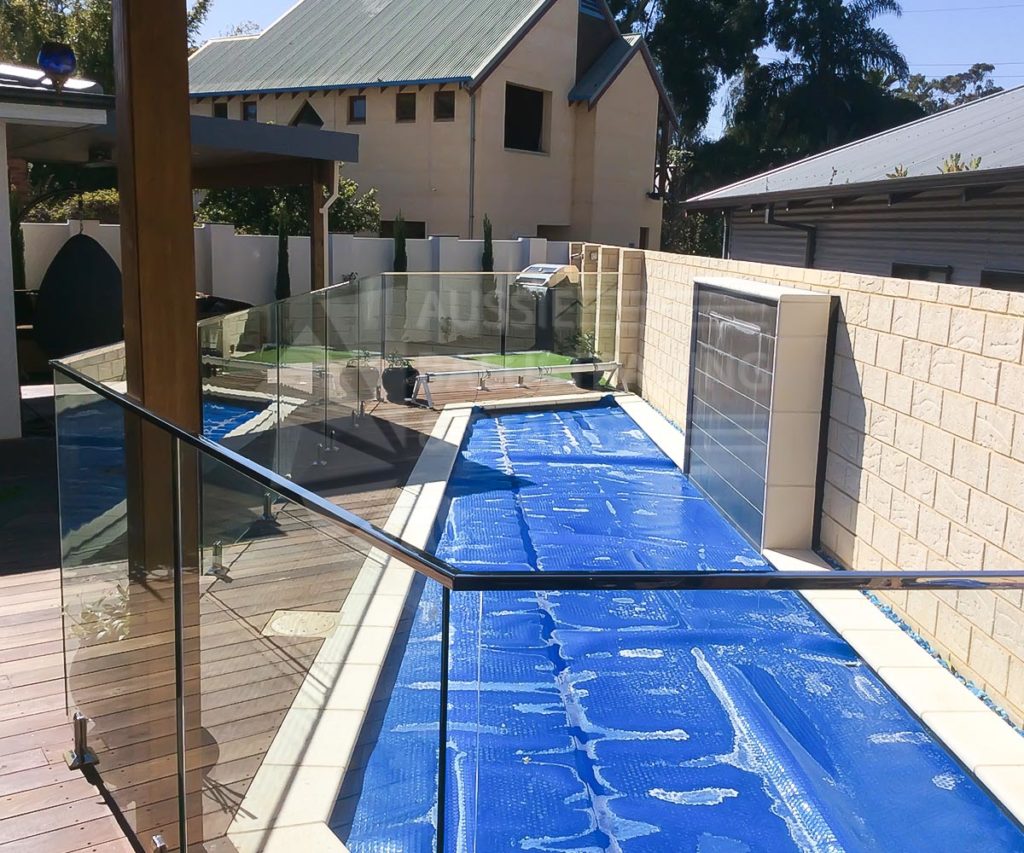
Using glass fencing for your pool is becoming a perennial favourite among homeowners. Not only does it give peace of mind with its extra layer of security, but it also adds a sophisticated touch to modern homes.
People gravitate towards glass pool fencing amongst its other counterparts. The transparency gives it a sense of flexibility. Glass can easily complement any decor, making it a breeze to pair anywhere. Beyond its simplistic attractiveness, the sleek design allows light to pour in and ensure nothing interrupts your view.
Installing Glass Pool Fencing For Homeowners
Handy homeowners who have a penchant for DIY projects can take the lead and install the glass pool fencing on your own, though it takes plenty of time and undivided attention to get it right. If you’re ready to take matters into your own accord, the guide below should help shed some light on how to do it safely:
Measuring the Site
Before anything else, it’s crucial to outline a plan based on the measurements around the site. The fence’s standard distance from the edge of the pool should be 1,300 mm or more, though you can consider “earthing” if you want to install it closer. Be sure to use a steel tape measure when doing so since it can read more accurate measurements.
Tools Required for the Job
- Steel Tape Measure;
- Chalk Line;
- String Line;
- Core Driller (for core drill spigots application);
- Hammer Driller (for base plate spigots application);
- Bucket for Mixing Grout;
- Allen Key Set;
- Spirit Level;
- Mats or Blankets;
Preparing the Site for the Fence Posts
After getting the measurements, it’s time to prepare the site by adding a footing or a concrete slab to hold the posts upright. Be sure to use either a 400 x 400 x 400 mm footing or a 100 mm thick slab. Here’s how to do it:
Step #1: Lift the pavers and use two flat screwdrivers to lift the paver, where you need to create an opening.
Step #2: This is the hardest part of the process as it takes plenty of back-breaking effort, wherein you would need to dig 400 x 400 mm trenches with centerlines that align with your fence.
Step #3: Next, you need to pour the concrete with a mixture of five-parts sand, ten-parts aggregate, and two-parts cement with water into the dug-up trenches. Leave it to dry.
A Closer Look at the Glass Pool Fencing Installation Process
Moving forward, here are the steps to keep in mind:
Step #1:
- Mark the hole positions to place the posts that connect the glass panels.
- Remove the cover plates from the mini post so you can correctly line up the holes before screwing the base plates.
- Keep the posts at a distance of 200 mm from the edge of the glass.
Step #2: Use the hammer driller using either a 5 mm or 10 mm masonry bit to drill through the paving, reaching an optimal depth of 80 mm.
Step #3: Moving forward, you need to use a caulking gun when anchoring the posts. This is for adding the chemical anchor into the holes, where you will put M8 Chemset anchor studs with at least 10 mm of space above the base plate.
Step #4: Let the chemical anchor cure for an hour, and then tighten the studs using your shifter. Add the base cap on every mini post to increase its stability.
Step #5: Check every screw and end brackets for its security.
Step #6: Insert the glass panels into the mini-posts carefully and secure the panels to keep it steady in place.
Step #7: Next, use your spirit level to check if the panels are lined up straight. Double-check every glass panel as this is your window of opportunity to make any necessary adjustments before replacing the base caps and tightening them into place for good.
Step #8: The last step is to attach the hinges at the gate panel and release the tension so you can add the latch by the poolside.
The Bottom Line: Our Basic Guide to Installing Glass Pool Fencing for Homeowners
Homeowners who own a pool can benefit from surrounding the area with glass fencing. It adds a fashionable flair to any home, along with boosting the landscape’s functionality thanks to its security features.
The guide above should shed some light on the basics of installing it for DIY-ers and weekend warriors. While it’s certainly possible to take matters into your own hands, keep in mind that installing glass pool fencing can be a complicated process that requires meticulous attention to detail.
There is little-to-no room for mistakes as any blunders can break the glass, so when it comes to its installation, nothing guarantees your safety more than allowing professionals to get the job done right the first time. Their expert handiwork can take the guesswork out of the project and reduce the risks that come with it, though doing your homework on the process can help keep you in the loop nonetheless.
How Can We Help Transform Your Aussie Pool Fencing?
Are you looking for a professional who can install pool fencing for you at home? Aussie Balustrading is the right manufacturer to do the job right! We offer a premium and extensive selection of frameless glass pools in Perth that is unlike any other when it comes to its durability and timeless cosmetic appeal.
We can tailor your options to suit your unique needs and style, so get in touch with us if you want to transform your pool area and elevate your backyard. Get in touch with us at 0861535353 and see what else we can do to improve your premises.


